Zephyr RTOS: Building your first application for nRF54l15-DK or any other board
Goal
In this post, we are going to build a simple Zephyr application to flash in the nRF54l15-DK or, most probably, any other board supported by Zephyr RTOS.
Setup
1. Zephyr Development Environment
First you need to have a Zephyr development environment set up. You can follow the official Zephyr documentation to set up your environment. This is available at Zephyr Project.
Since we are gonna use a Nordic devkit it also makes sense to install the nRF Connect Desktop Apps (not a full requirement, but tremendously useful if you plan to use Nordic). To download/install: nRF Connect for Desktop
Let's start by creating a new Zephyr project. Open a terminal and navigate to the directory where you want to create your project. Then run the following command:
Go into the project directory and do a west update this will download the latest version of the Zephyr SDK and all dependencies declare in the manifest file, west.yml in the root of zephyr project.
2. Building the sample application
First, find your board name by running the following command:
If you don't have one of these yet and you happen to be using Linux you can start by targetting the native_sim.
Just to ensure everything is working, let's build a sample application. In my case I am building for the nrf54l15dk.
Now, let's flash the application to the board.
3. Flashing and running the sample application
And there's a big chance that you will see the following output:
;
This means we don't have nrfutil installed. Instruction to install it are available in the Nordic documentation Installing nRF Util
After installing nrfutil, you need to install "commands" of the nrfutil application. It works like a small package manager where you can download additional packages. For flashing the application we need the "device" command. To install it:
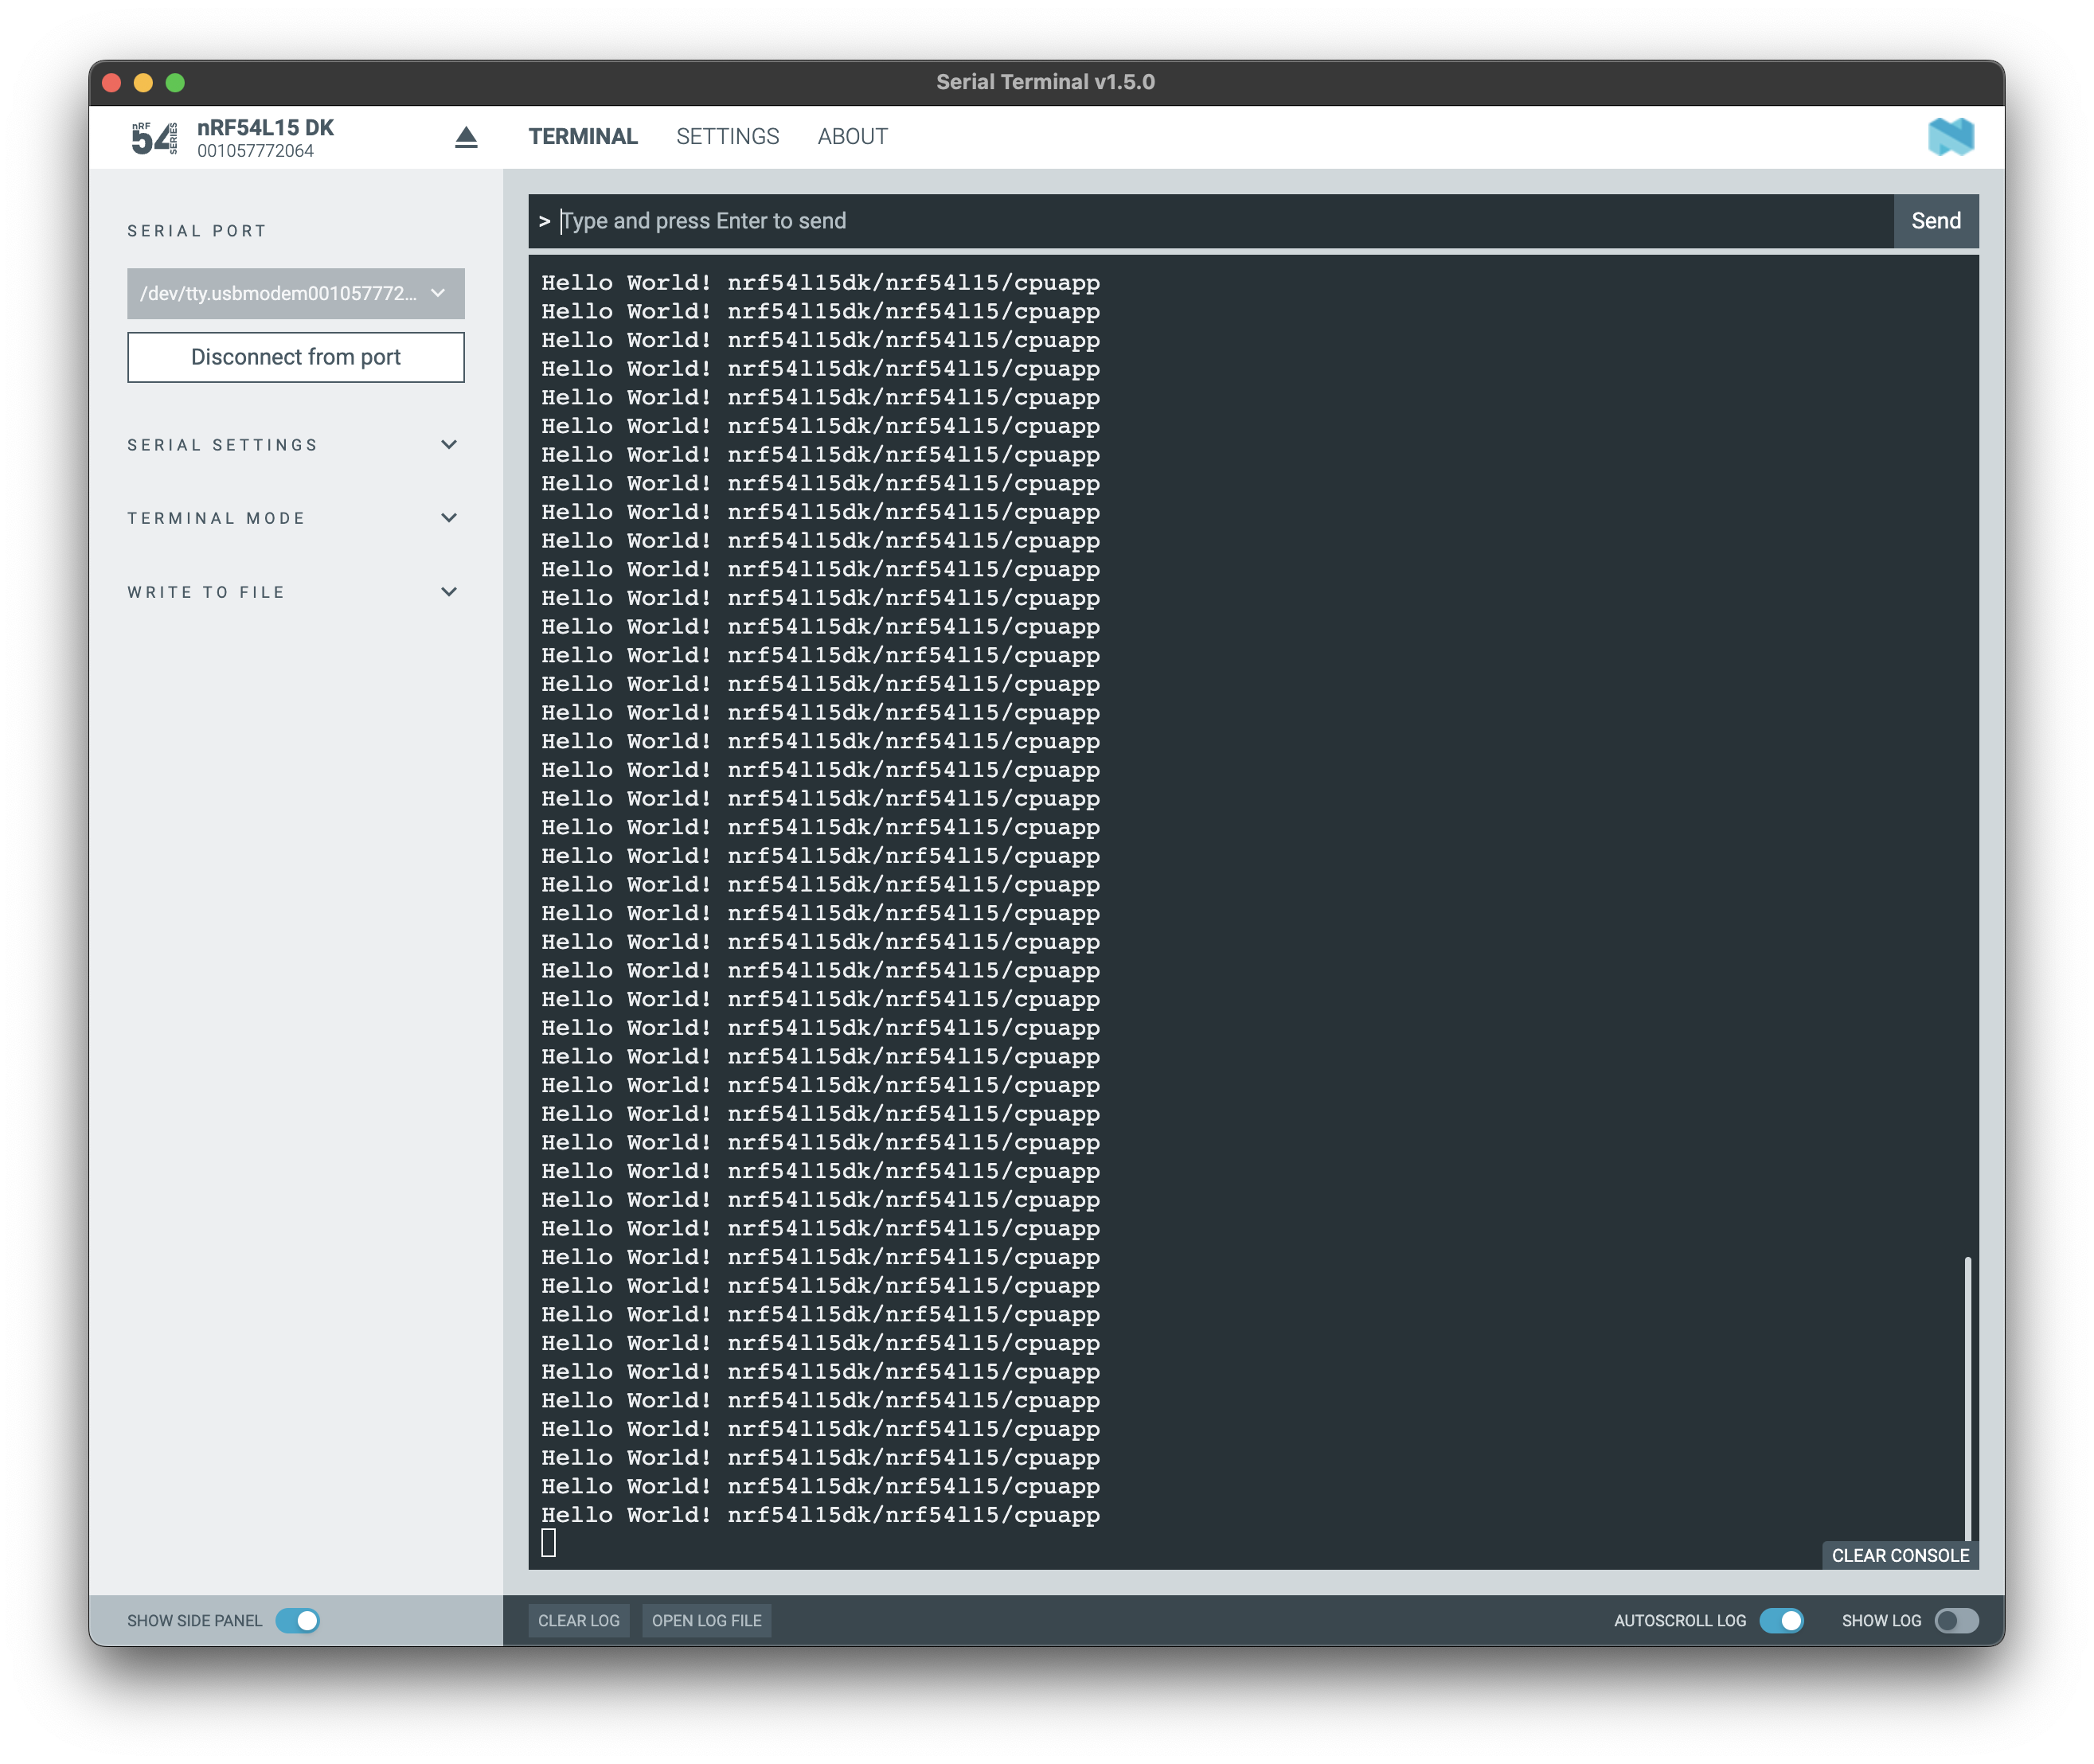
Now to check the hello world message, we need serial monitor application. One good option, since we are using a Nordic board, is to use the Serial Terminal from nRF Connect for Desktop bundle and use the Serial Terminal Application.
The output should look like this:
Ok, if you got here, first of all congrats! You're setup is working and you're ready to focus on what matters: your project/application.
As I shown here, you're running a sample, this is a good start but, for a real world application, you need to setup your own, possibly private workspace with all dependencies versions tracked making the setup as reproducible as possible. There are some ways to do this documented in Zephyr RTOS project. My personal preference, without all the bells and whistles of a full featured IDE is documented in the following post: Setting up a private application and goes over a setup that works perfectly for teams, with all dependencies listed, very easy to track in p.ex. Git, easily integrated into CI/CD pipelines and ready for real world development.